
If you don’t have any prior experience with native development, getting started with native modules can seem intimidating. The React Native docs do a good job introducing native iOS modules, and this guide is not intended to replace what they’ve provided. Instead, I hope it supplements the docs as an additional resource.
My aim here is to show you how to write native iOS modules in Swift by starting with the simplest (albeit useless) example possible, and build upon our knowledge gradually until we’ve created something interesting and useful. The end result will be a module that exports functionality from the iOS Vision APIs to perform computer-vision tasks like text and face recognition.
Step One — the simplest module ever
Here’s the simplest module I can imagine. It exports a method that simply prints a message to the iOS console…
To get started on a strong foundation, let’s make sure we understand what each of these two files are doing.
RCTVisionModule.swift is where the heart of the code lies. It declares a class of the type NSObject with a single method, sayHello that simply prints a message to the Xcode console. Most of the code should look pretty straightforward, but you may be wondering about the lines beginning with @objc. What’s going on there? Those are Swift attributes that make our Swift code available in Objective-C code. But why do we need to do that? That brings us to our other file.
RCTVisionModule.m is where we tell React Native about our native code. RCT_EXTERN_MODULE and RCT_EXTERN_METHOD are both Objective-C macros that register our native code with React Native.
To use our exported method in our React Native code, we simply import our native module.
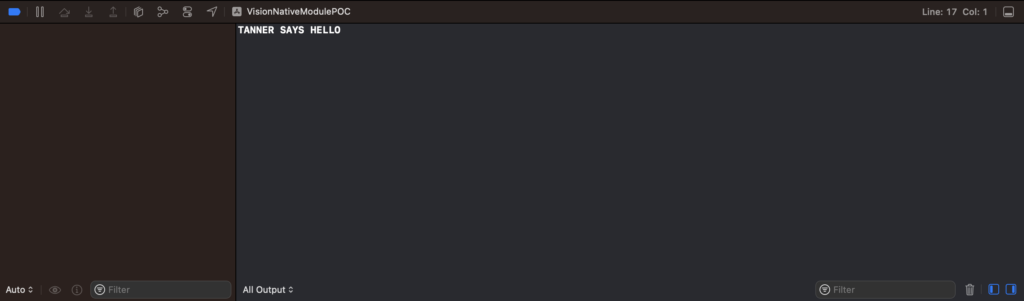
We should then see our message logged to the console when we run our app from Xcode
Step Two — passing arguments into our native module
The method we implemented in Step One helped us understand the fundamentals of native Swift modules. Let’s take it a step further and pass some data into our native module.
You can pass several data types between JavaScript and your native module. See the full list here. Let’s add support for a string argument and a number argument in our native module.
Now, in our React Native code, we can pass two arguments to our sayHello() method:
And now we’ll see the arguments logged to the Xcode console:

Step Three — passing data back to React Native via callbacks
In Step Two, we made our module a little more interesting by passing arguments from our React Native code into our native code. Now let’s learn how to pass data back to React Native. The simplest way to achieve this is via callbacks.
Here, we add a parameter named callback to our module interface, which is is of the type RCTResponseSenderBlock. In our Swift code, we can call the function with an array of data. On the React Native side, our callback will be invoked with each element array as a separate argument:
The result in our JavaScript console:

Step Four – Calling an iOS Vision method
Now that we understand the basics of passing data back and forth with our Native Modules, we’re going to take a big leap and build something that might actually be useful by implementing a couple of methods that execute computer vision requests with the iOS Vision library and returns the result.
Obviously, we’ve added a ton of native Swift code in this most recent revision. I won’t explain that code in depth here, but you can check out the iOS Vision documentation to learn more. The important thing is that by now, you should see how we get the results of our Vision API requests back to our React Native app via callbacks.